Introduction
In this post, You will learn what iso wasp zap and for the tool is used for and also you will learn how to use the tool.
Below is the video format of the post, Check it out 👇🏾
Video
What is OWASP ZAP
The OWASP ZAP is the most widely used web app scanner, In simple a website scanner. ZAP stands for zed attack proxy.
The zap tool is primarily used to find website vulnerabilities and the hidden directories.
ZAP was originally forked from Paros, another pentesting proxy. Simon Bennetts, the project lead, stated in 2014 that only 20% of ZAP’s source code was still from Paros.
Advertisement
How to install OWASP ZAP
To install the tool just follow the below????
- Click the download button to install zap Fromm official website, If you are installing on linux distribution the click the Linux Installer.
- Once downloaded, Go to downloads.
- Enter chmod o+x <zap downloaded file name here>. chmod o+x ZAP_2_7_0_unix.sh
- ./ZAP_2_7_0_unix.sh
- Now click on next for everything and an application zap will be created in your menus, Click open to start ZAP.
* If you are going to install ZAP on any other platforms the installation process is going to be the same.
How to use OWASP ZAP
It is really very simple to use OWASP ZAP because it is in GUI format and architecture is very good at zaproxy.
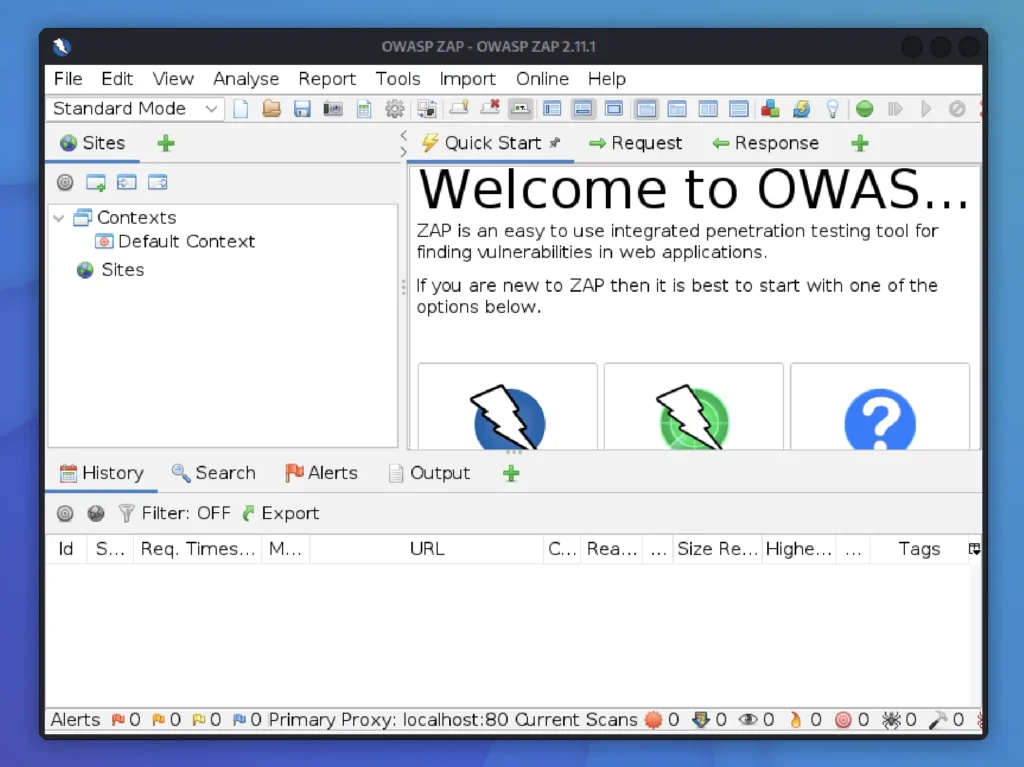
If you open zap the interface looks something similar to the below image

Customising OWASP ZAP proxy
Make sure the you run ZAP in an not used port, Well I suggest you to go with localhost port 8080
To customise ZAP proxy go to tools > options > local proxies

In the place of address enter localhost and in the place of port enter 8080 and click ok to save you change.
Advertisement
Scanning website using ZAP
There are two ways to scan a website in ZAP,
- Automated scan
- Manual scan
If you want to a manual scan on websites like google.com or bcc.com then it is going to take an eternity.
Where as the automated scan finds all the links, images and whatever files in the website will be scanned and will be displayed.
It depends on the website you are targeting, If it is a small website like techyrick.com then the scan is going to be faster.
Let’s see how to do an automated scan.
Automated scan
To do an automated scan just click on automated scan and enter the target website you want to scan like this ????

If you click on the Firefox headline you can choose from which web browser you can scan the target from.
You can also select the traditional spider. Which going to grab all the link, mages in the target and will be displayed.
To start the attack just press Attack options.

You could see the results down below and on the left side of the dashboard you could see the sites, If you click on that you could see the post, pages and whatever the zap hash scanned for.

Generate Report
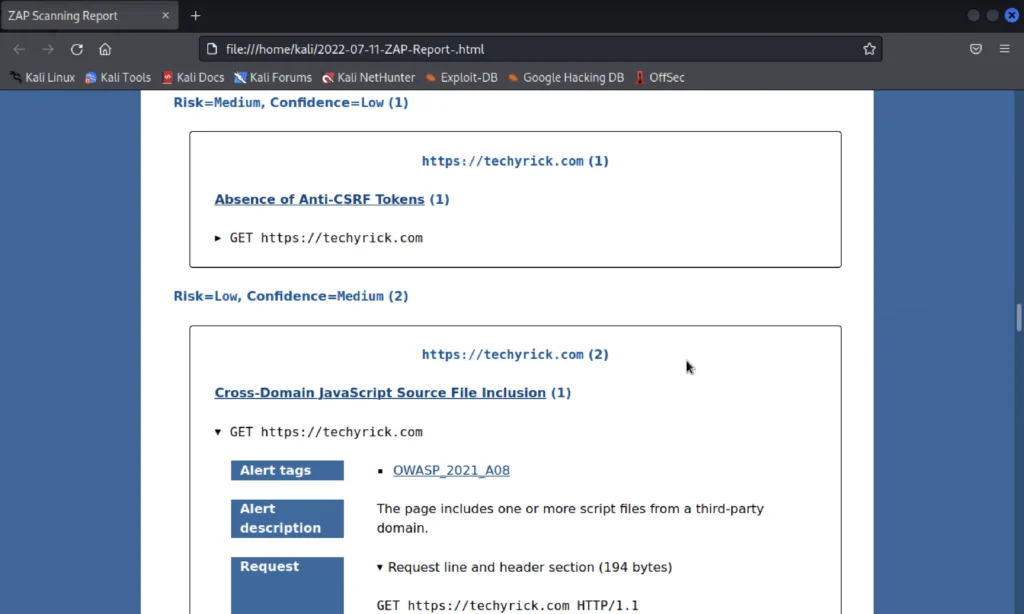
It is really very easy to export the results in .HTML format, Just click on generate report from the top right hand corner and you can customise over there.

Result Dashboard
The result dashboard very organised in ZAP:
- History
- search options (To search a specific url)
- Alerts (Probably found any vulnerability)
- Output
- Spider (We can see all the url from a website)
- Ajax spider
- Active scan (Can find the scanned URL’s)

Alerts
You can click on the Alerts to find probable vulnerable pages and links.

As a result you could see the risk level of the site in the right side dashboard.
Conclusion
This is a post for completion beginners and there is an another post on OWASP ZAP for intermediate and professionals.
Hope you like the post on OWASP ZAP ????, If you have any doubt take a look at the YouTube video. See ya in the next post.
Advertisement
Also Read: How to use sqlmap


