Introduction
In this post, You will learn what is nuclei and how it works and all the commands related to the tool.
Below is the video format of the post, Do check it out
Video
What is Nuclei
Nuclei is a vulnerability analysis tool, Nuclei is used to send requests across targets based on a template, leading to zero false positives and providing fast scanning on a large number of hosts.
Nuclei offers scanning for a variety of protocols, including TCP, DNS, HTTP, SSL, File, Whois, Websocket, Headless etc.
Just using the nuclei we can do a lot of security checks, The results are quiet awesome.
Some alternative for Nuclei is OpenVas, Nessus, Nikto. My personal favourite is going to be Nessus and Openvas.
In simple Nuclei is another vulnerability analysis tool with additional features.
Advertisement
Who Developed Nuclei
The initial release was done by Ice3man543 And later maintained by sandeep singh. And also I appreciate the other developer who contributed to this tool ❤️
Features in Nuclei
- YAML-based templates
- Extensible template library
- Support for multiple protocols
- Parallel and fast scanning
- Integration with other tools
How to Install Nuclei ⬇️
Before installing nuclei, Make sure you have installed go and dependencies and below is the command to install nuclei.
Linux: sudo apt-get install nuclei
Win: go get -u github.com/projectdiscovery/nuclei/v2/cmd/nuclei
How to use Nuclei
Follow every example carefully by end of thispost you will be very familiar with the tool and if you continuously work for 2 -4 hrs you will become a pro.
Work hard until you reach your goal let’s make hand’s wet
BY ME ????
Default Mode
In default mode we can just mention a domain to scan for with no additional commands. Also If there is any open ports we can add that to get specific results.
nuclei -u http://techyrick.com
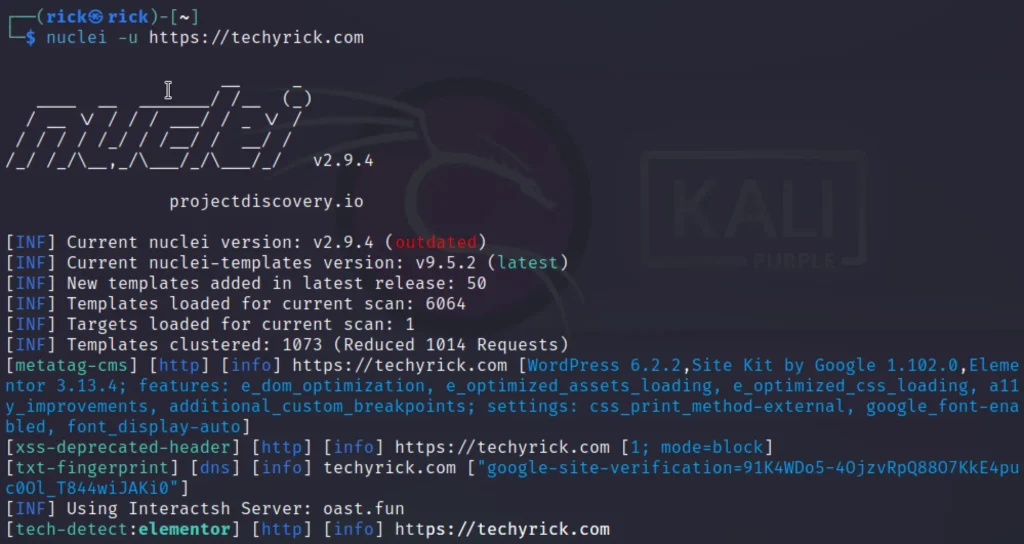
I have found my site has open ports, And I thought of scanning the port 22 that is SSH.
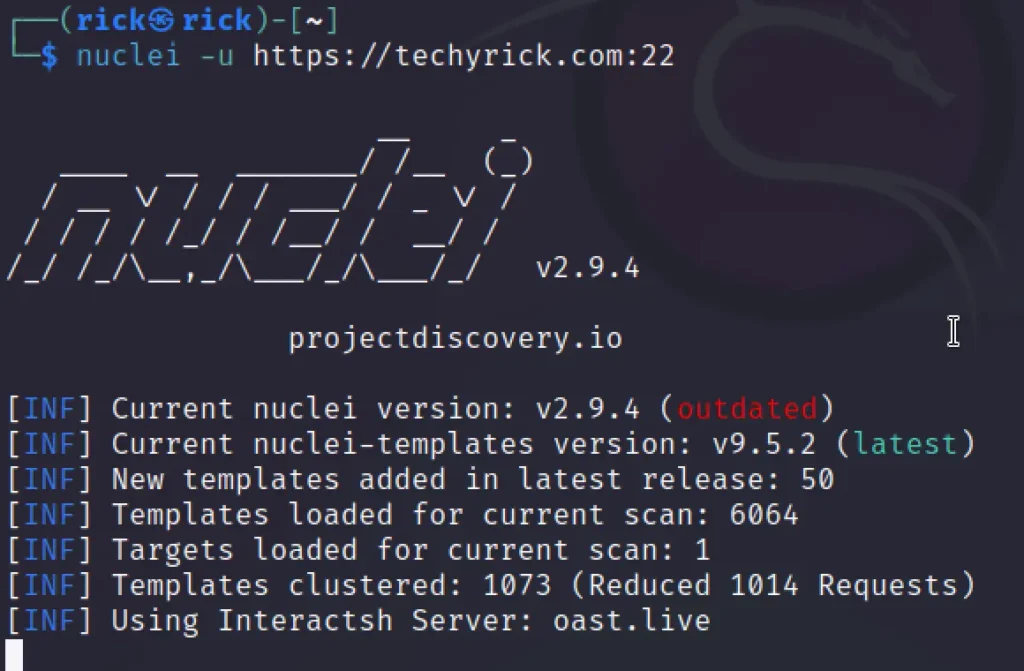
These commands will use nuclei to scan for thousands of known vulnerabilities and enumerate information about the target(s).
The results are quiet great, Try on my site you can see all the in depth results of DNS record. I am really surprised so far ❤️
Scanning Multiple Sites
To scan for multiple sites we can add the -l command.
nuclei -l domains.txt
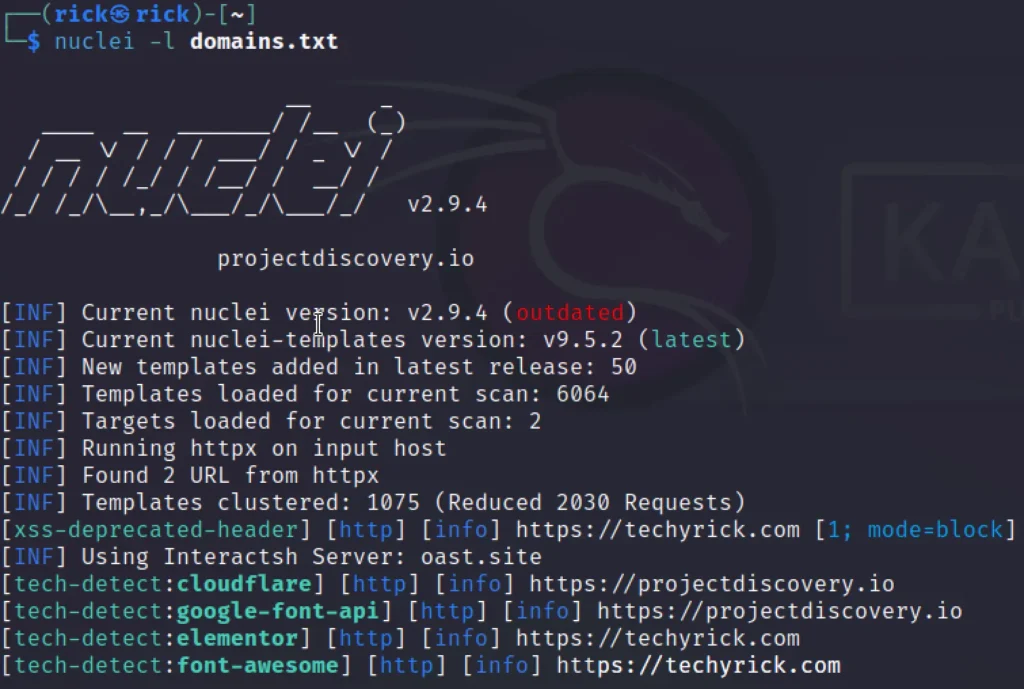
Tool Integration
We can integrate multiple tools to reduce the work burden and get some awesome result.
subfinder -d domains.txt | httpx | nuclei -t "http/technologies/prestashop-detect.yaml"
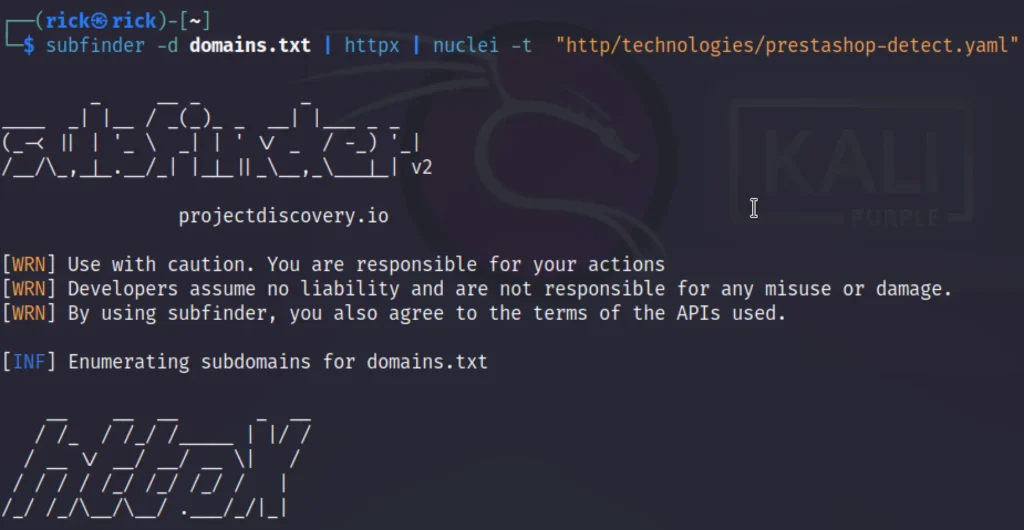
Filtering
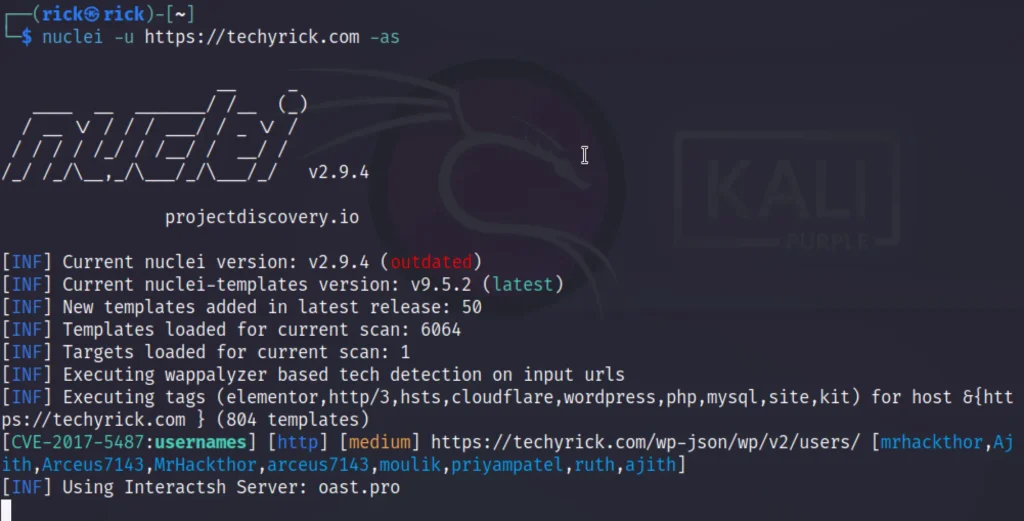
If you don’t know what template to use against the target, Then just use the auto selection.
nuclei -u http://techyrick.com -as
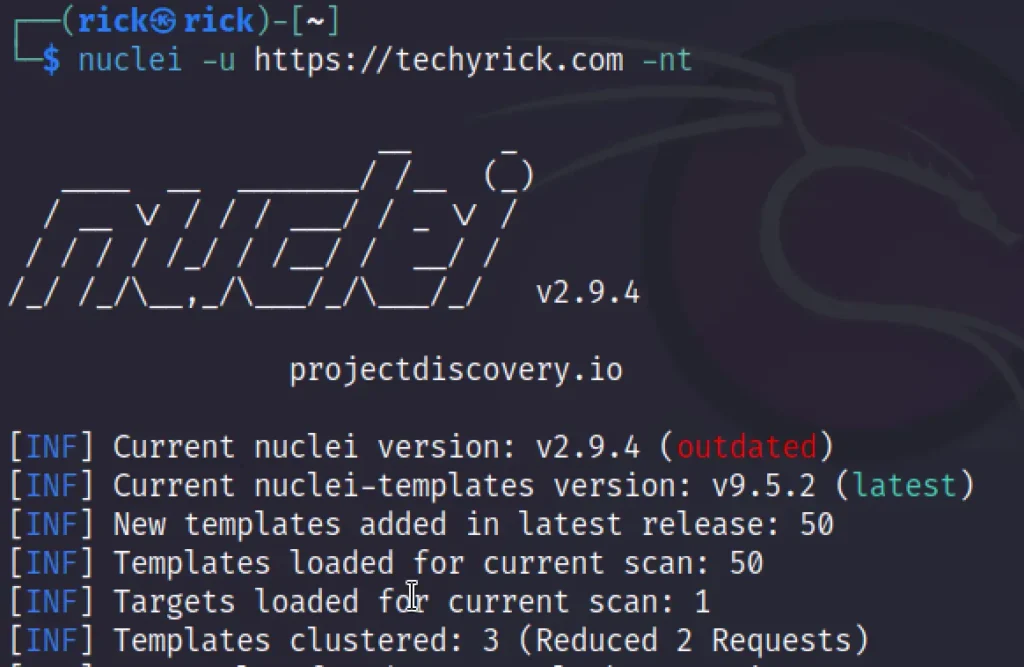
If you want to use the latest template then try the below command.
nuclei -u http://techyrick.com -nt
We can also add a specific template to scan against the target.

You know what we can filter by tags, Check the below command.
nuclei -u https://jira.techyrick.com -tags jira,generic
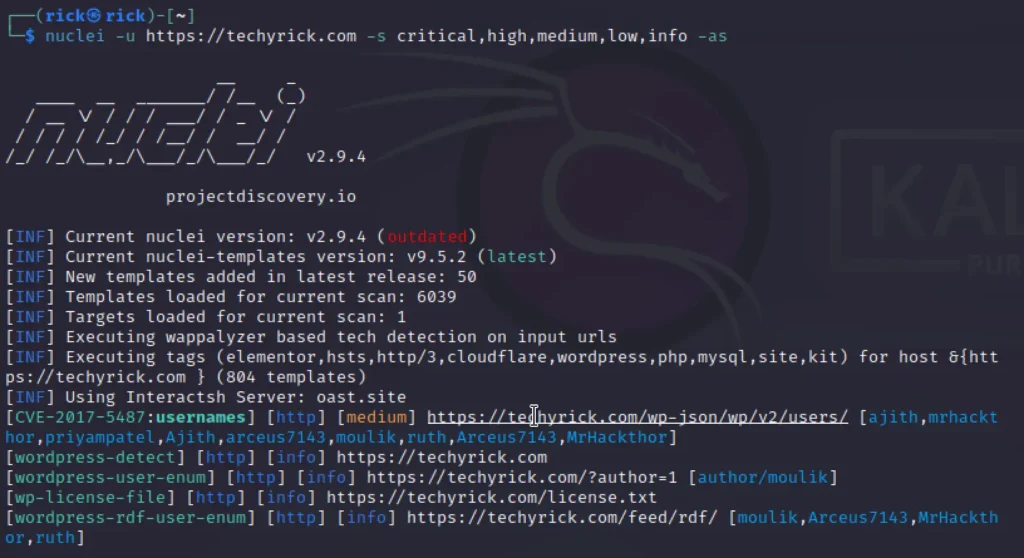
Selecting templates by severity.
nuclei -u http://techyrick.com -s critical,high,medium,low,info -as
Templates
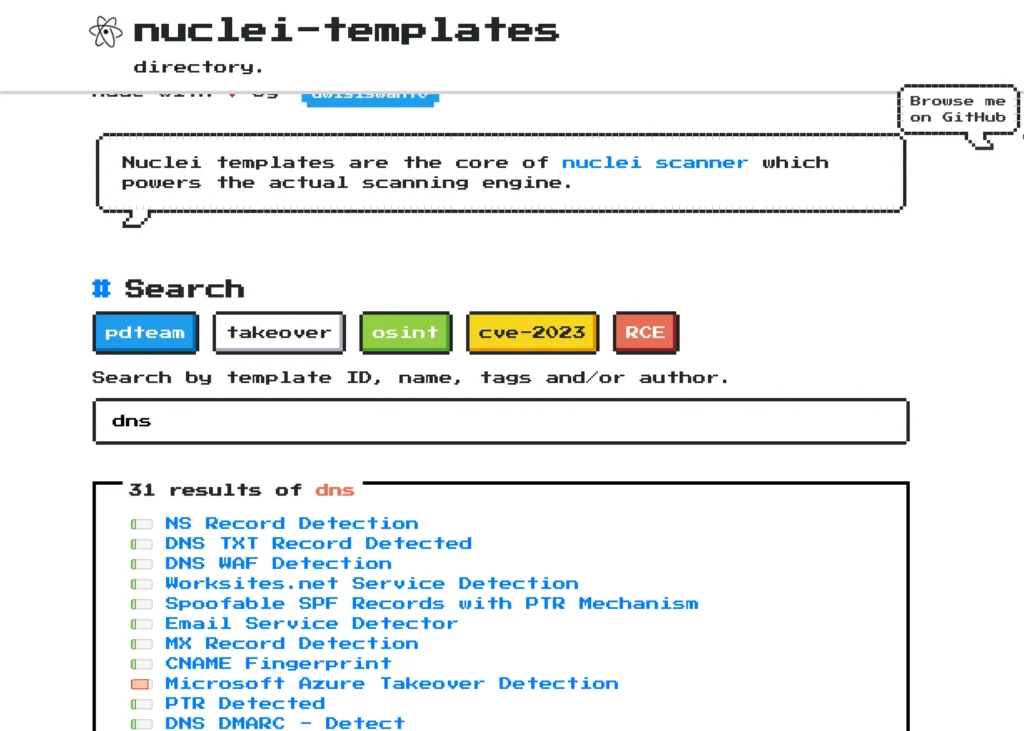
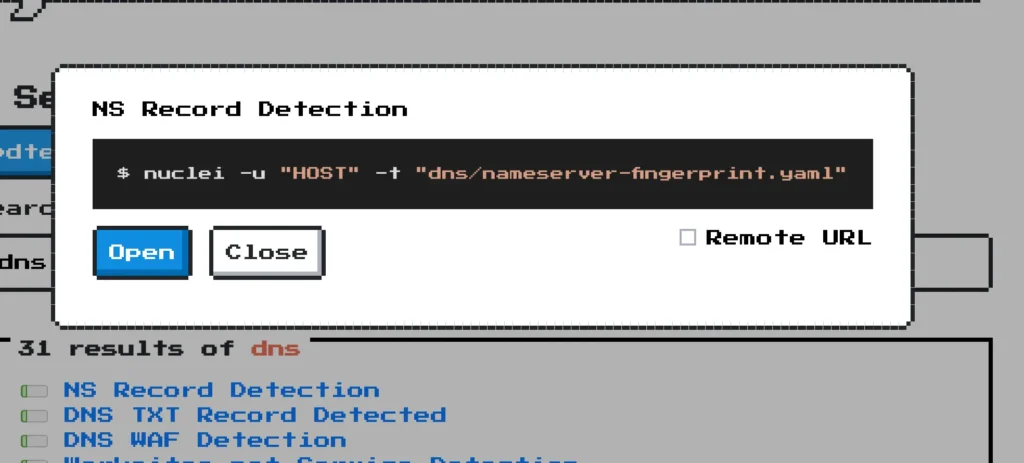
You will be wondering where I got the templates from, Well below is a link go check it out.
https://nuclei-templates.netlify.app/
In the search options you can enter whatever you need, If you need DNS results just enter DNS and copy the yaml script and run against the target.
Also you can find many templates ink OSINT, PD Teams, CVE-2023, RCE and takeover.
Rate Limiting
Rate limiting can also be specified in terms of requests per minute with the -rlm <int> option.
nuclei -u http://techyrick.com/ -rl 3 -c 2
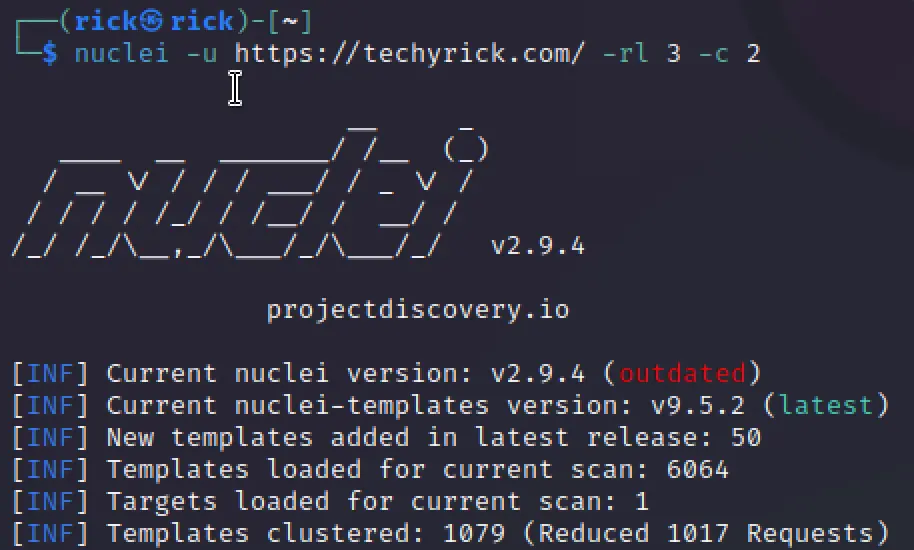
Also we can set timeout, retries and errors.
- Timeout Length (-timeout) (Default value is 5)
- Number of Retries (-retries)
- Number of Errors (-mhe)
Resume Scan
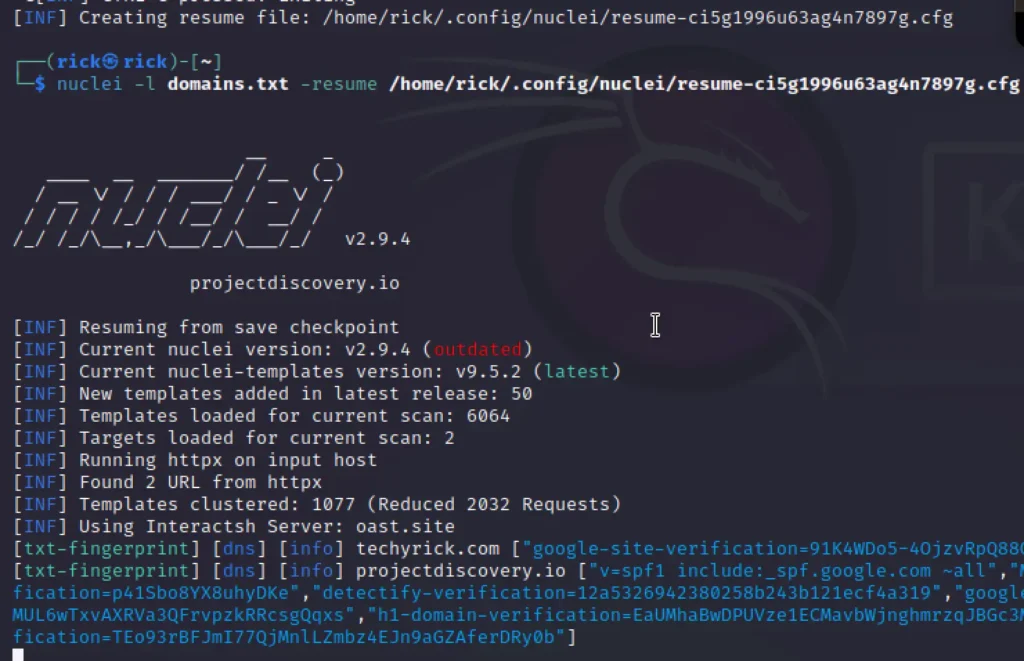
We can also resume the scan, All the scan results will be in /home/user/.config dir.
nuclei -l domains.txt -resume /home/rick/.config/nuclei/resume-ci5g1996u63ag4n7897g.cfg
Conclusion
In my personal opinion this is one of the best vulnerability analysis tool, It’s really very fun to use it and it’s better than Nikto.
See you guys in the next post ❤️
Advertisement


