Introduction
Recently, I found myself in the need to create several virtual machines (VMs) on my Mac M1, with one of them being Windows 11. Initially, I looked into VirtualBox as my virtualization solution. However, when I attempted to set up Kali Linux as my first VM, I encountered numerous issues. Despite conducting extensive research, I couldn’t resolve the problems. That’s when I stumbled upon a crucial revelation: VirtualBox is not compatible with Apple’s M1 architecture, but a tool called UTM is.
Before we delve into the installation process, let’s clarify a few key terms:
UTM: UTM leverages Apple’s Hypervisor virtualization framework to run ARM64 operating systems on Apple Silicon, achieving near-native speeds. It allows you to fully virtualize Windows 10 or newer, Ubuntu, or macOS(*), delivering exceptional performance.
QEMU: QEMU is a machine emulator capable of running operating systems and applications designed for one machine on an entirely different machine. It utilizes hardware virtualization technology to enable the virtualization of guest operating systems.
In this video, we’ll walk you through the process of setting up UTM on your Mac M1 and creating virtual machines, including Windows 11, for an optimal virtualization experience. Stay tuned for an informative and detailed guide to make your virtualization journey a breeze. Don’t forget to like, share, and subscribe for more tech insights and tutorials. If you have any questions or need assistance, please drop them in the comments section below, and we’ll be happy to assist you.
Video
Overview
We need these in order to get Windows 11 running as a virtual machine:
- Homebrew
- QEMU
- UTM
- Windows 11 VHDX Image
- Create the Windows 11 VM
1. Installing Homebrew
Note: If you have HomeBrew installed, kindly proceed to the next step.
Open your Terminal and paste the following to install Homebrew:/bin/bash -c “$(curl -fsSL https://raw.githubusercontent.com/Homebrew/install/HEAD/install.sh)"
2. Installing Qemu
Once the Homebrew installation is done, paste the following into your Terminal: brew install qemu to install QEMU.
3. Installing UTM
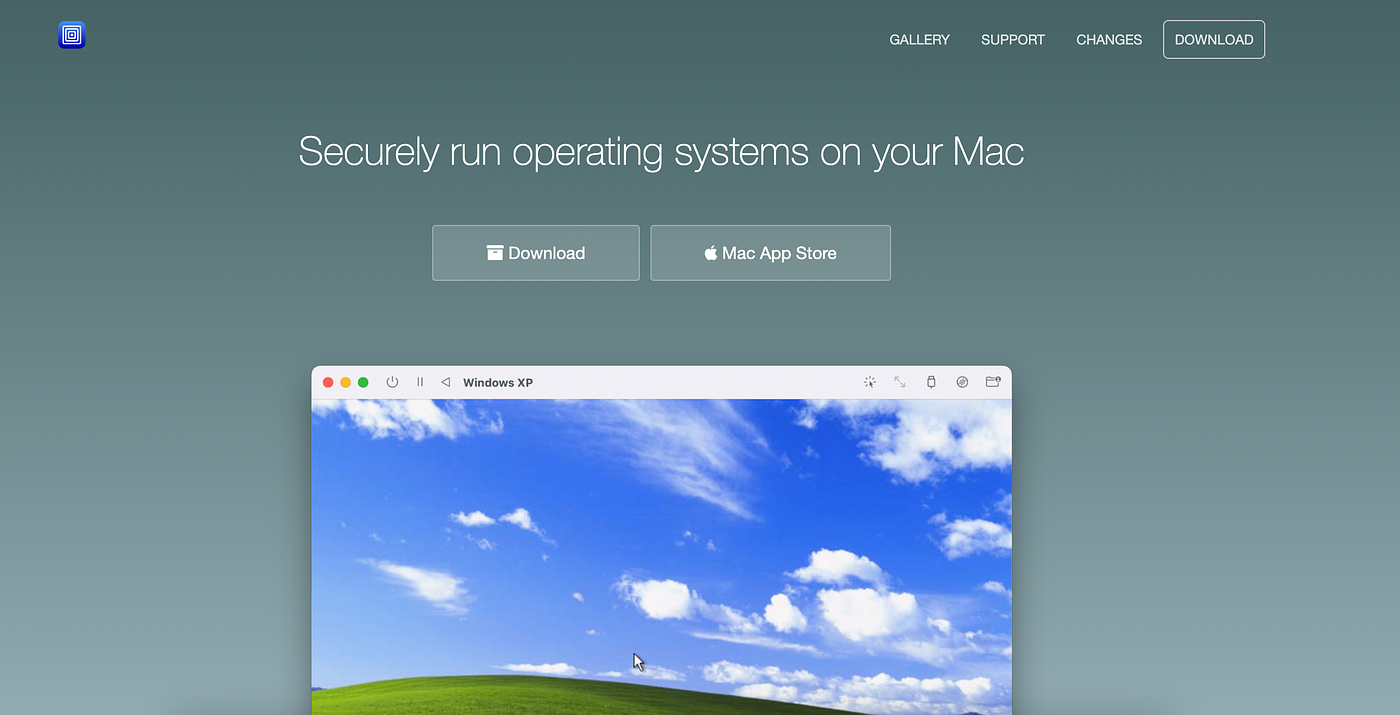
Download the UTM .dmg file from the official website. Clicking the Download button gives you the free version while Mac App Store offers it at a price.

Double-click the downloaded file and drag the icon into the Application icon. The installation will then, proceed.
4. Downloading Windows 11 VHDX Image
There are a few resources where Windows 11 VHDX images can be downloaded but trust me, I found the official website more reliable and easier once you follow the process.
- Make sure to register for the Windows Insider Program
- Once the above step is done, click here to download the Windows Insider Preview ARM64
- On the page, the default download tip is to select the Dev Channel version but in this article, it is advised to select the Canary Channel. Thanks to @wrmack for pointing this out.
- Confirm the Product Language


Note: the image size is pretty large—about 10GB. ????
5. Creating Windows 11 VM on UTM
Now, this is the real deal but please calm down ????. I will attach images to most of the steps for better visualisation and understanding.
- Launch your UTM application, and click “Create a New Virtual Machine”.
- Select “Virtualize”
- Select “Windows” as the Operating System
- Make sure “Install Windows 10 or higher” and “Install drivers and SPICE tools” are checked as shown below.

Check the “Import VHDX Image”. Make sure to add the path to the downloaded Windows 11 VHDX file.
5. Increase your Memory to 4GB: 4096MB if not done automatically. Leave the CPU Cores to Default.

6. Leave the Shared Directory as it is. If needed, it could be modified on the Settings page later.

7. Rename your VM and check the “Open VM Settings”, click “Save” to create the VM, and this will immediately open the settings page.

8. Make sure the contents of the images below conform with what you have especially in the System, QEMU, Display, Network, and Drives tabs. Click “Save” when you are done.


⚠️ While Windows 11 is being installed, to avoid being stuck on the page below, please consider step 9 very carefully.

9. Click the play icon to start the VM.

Once the VM starts to boot,
- press
Shift + fn + F10to launch the Terminal - type
cd oobe, press enter - type
bypassnro, press enter
You should see Operation was completed successfully in a flash while the Terminal exits.
Note: This would show this screen while installing Windows 11 ???? and you would have the option to skip the Network Connection step. When you get to this screen, just click the “I don’t have internet” option to proceed.

10. When the Terminal exits, it will reboot and start the Windows 11 installation process. Follow the on-screen instructions.
Hmmm… Well done! ???? ????
Once Windows 11 has been successfully installed, open your Microsoft Edge browser to see if you can access the internet. As seen below, mine did not connect.

So, this takes us to install the SPICE tools that were initially mounted during the creation of the VM. You can find it here as shown below:

Click the Application file—mine is spice-guest-tools-0.164 to install it. Follow the on-screen instructions.
Check back your browser and you will have access to the internet.

Yay! ???? ???? We have completed the installation of the Windows 11 VM on UTM.
Possible Problems
I would not say this process was as easy as it is written because I encountered several issues and retried the whole VM creation 3 times before it was a success.
- If you see this page during the installation, it means you had an oversight in the warning stated above. ???? Kindly check back on Step 9 to fix it. However, you would definetly need to delete the VM and start the process again. ????♀

2. This page shows up after VM creation once you start the VM. Close the VM, and make sure that the virtio-ramfb-gl (GPU Supported) is selected under Display tab in Settings.

3. This page also shows up after VM creation once you start the VM. Close the VM, and make sure that the UEFI Boot is checked in QEMU tab in Settings.

4. While I tried to follow the whole process on another MacBook M1, I encountered this error after the bypassnro operation on terminal:

Fix:
- click OK. Then, stop the VM and restart it
- while booting, press
Shift + fn + F10to launch the Terminal - type
regedit, press enter and the image below will show up

Make sure to open the right directory:HKEY_LOCAL_MACHINE/SYSTEM/Setup/Status/ChildCompletion
- double-click the
setup.exeand change any value to 3, click OK - close the Registry Editor and terminal, then, click OK on the error page to exit it
- the windows will now boot properly
You could join the UTM Discord community if you have any issue—aside the ones noted in this article—in order to get help.


