Introduction 👋🏽
In this post, You will learn what is maltego and how to use the maltego tool, Below is the video format of the post, Do check that out
Video 📹
What is Maltego ❓
Maltego is a GUI format Information gathering tool with many features that other information-gathering tools, Dosen’t provide.
The tool provides a graphical interface that allows users to visually explore and understand relationships between different entities, such as people, email addresses, websites, domains, IP addresses, and much more…
Paterva provides two licenses that can be used, a commercial version and a free version. We’ll focus on the free version, otherwise referred to as the “Community Edition.” This version comes pre-installed within Kali Linux.Graphical Interface
Advertisement
Who Developed Maltego 👇🏾
The Maltego tool was originally developed by paterva pvt ltd company, And still paterva company takes care of the tool.
Installing Maltego
It’s very easy to install maltego, Just open maltego in a terminal or open it by going to applications.
The maltego comes pre installed in kali and parrot so, You need to worry about the installing the binary file.
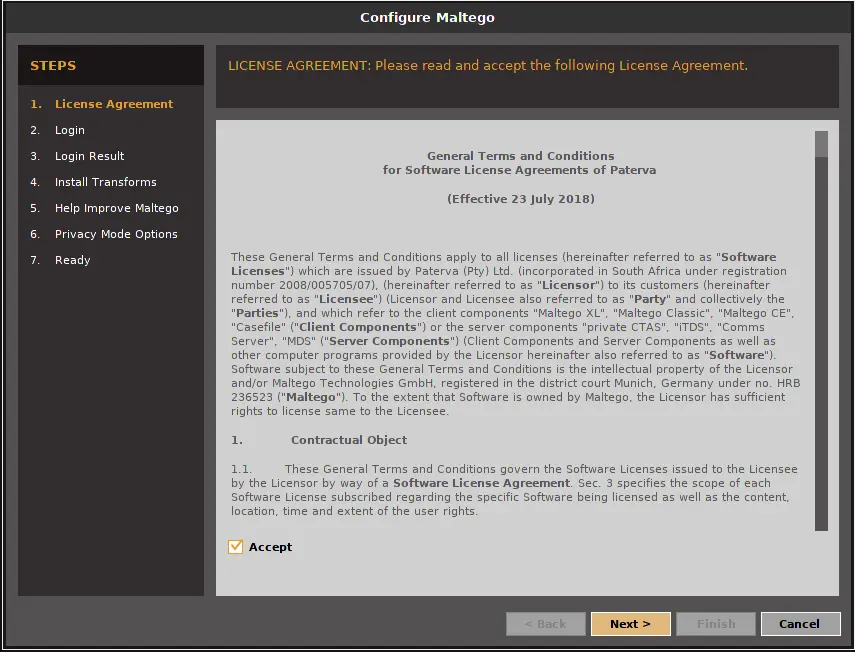
- Launch Maltego
- Accept the agreement
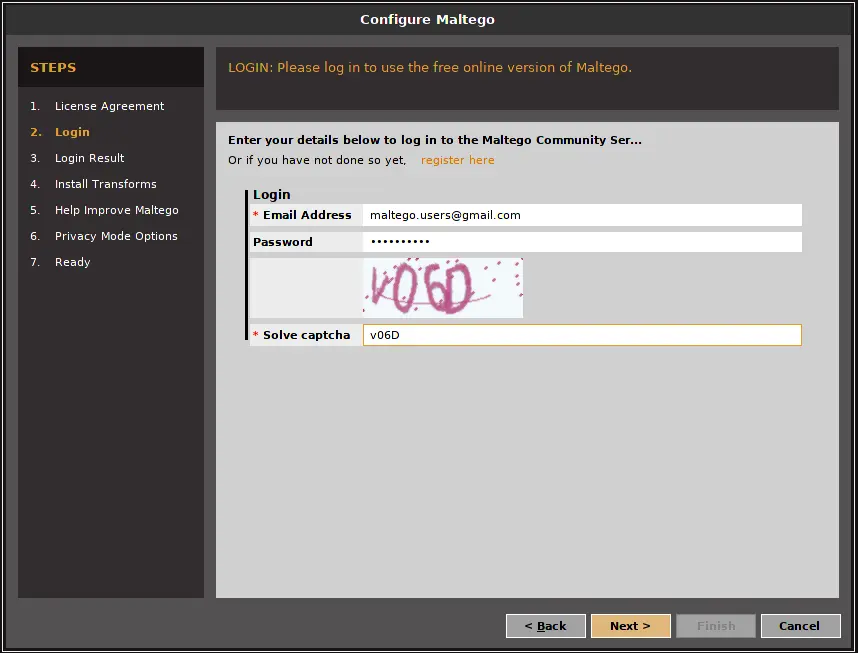
3. Click next and Register and Login via with newly created credentials.
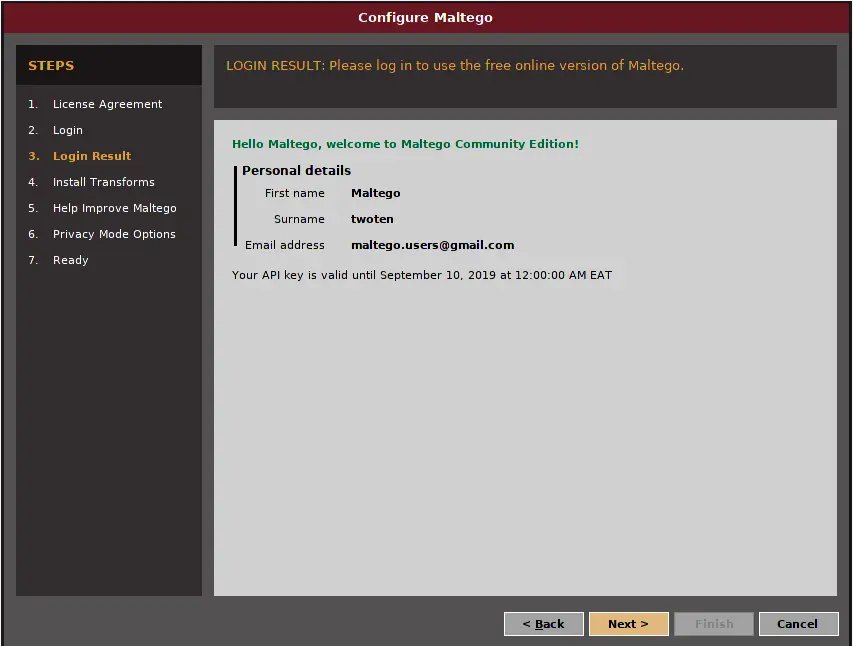
4. The login results will be something like below.
5. Now Click next and Install the transforms and other configurations are upto you. Once you completed the step 7 it will be something like below.
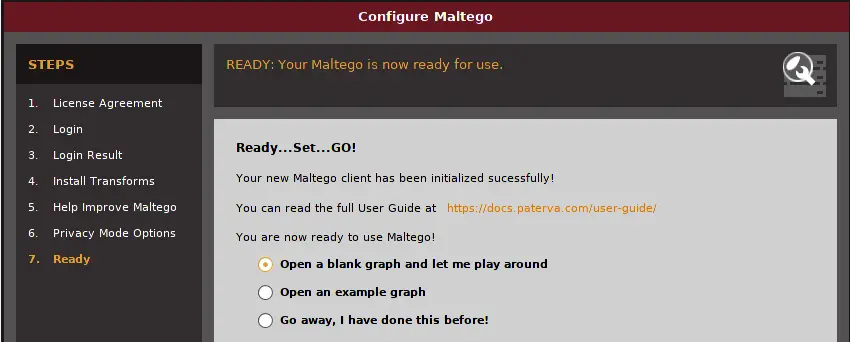
Finally open the blank graph and we are read to do some information gathering stuff ????
Features in Maltego
- Graphical Interface: user-friendly graphical interface that allows users to visually explore and navigate.
- Entity and Relationship Visualization: Entities (such as people, organizations, websites, email addresses, etc.)
- Transform Hub: Maltego has a Transform Hub that offers a wide range of pre-built transforms.
- Customizable Transforms: Users can create their own custom transforms to fetch data from specific sources
- Collaboration: Maltego supports collaboration among team members.
- Integrated Case Management: Maltego includes case management functionality, allowing users to organize their investigations
- Data Export and Reporting: Maltego enables users to export their findings and generate comprehensive reports in various formats.
- Integrations and Extensions: Maltego can be extended through its application programming interface (API) to integrate external tools
How to Use Maltego
Follow every example carefully by end of thispost you will be very familiar with the tool and if you continuously work for 2 -4 hrs you will become a pro.
Work hard until you reach your goal let’s make hand’s wet ????
BY STUPID ME ????
Interface
The interface of the maltego site look like this ????????
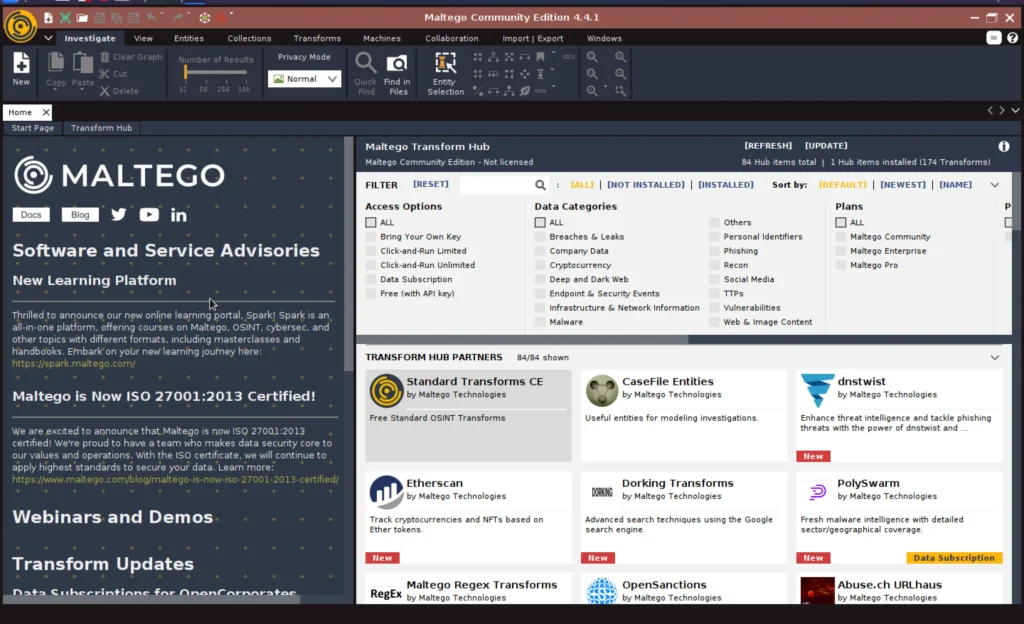
We can see the transform hubs, In simple transform hubs in maltego is third part tools which are used for information gathering with maltego.
To Install any transform just click on the transform and click install.
Now start a project click on the new page at top right corner.
Entity Palette
In the entity palette we can find the actually thing we are looking to do an information gathering on, For example if you are looking for DNS recon, Just drag and drop the entity.
Here let me scan my site for name server in maltego. On the search option you can enter DNS and choose the one which opts you. Just drag and drop the one ????????
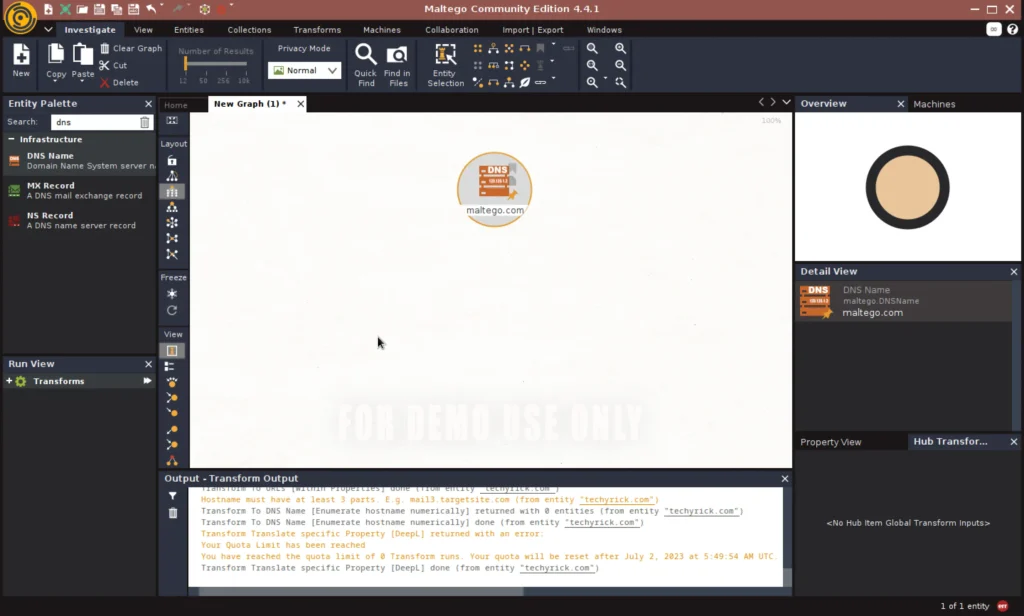
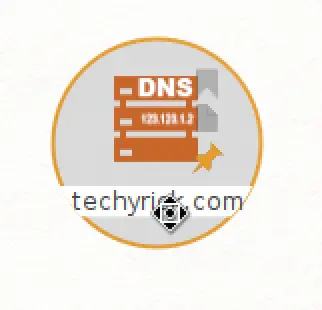
Now double click on the maltego.com and change to the target site you want to scan for, In my case it is techyrick.com
Now right click and run through all transforms.
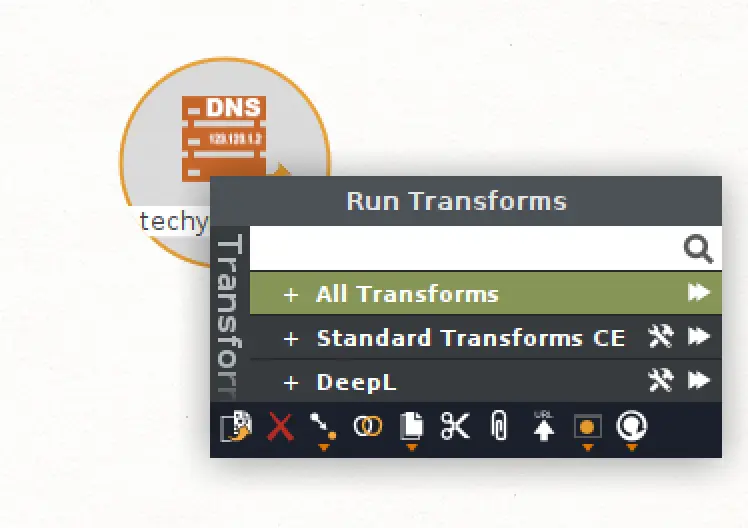
That’s it, you have done your first scan using maltego.
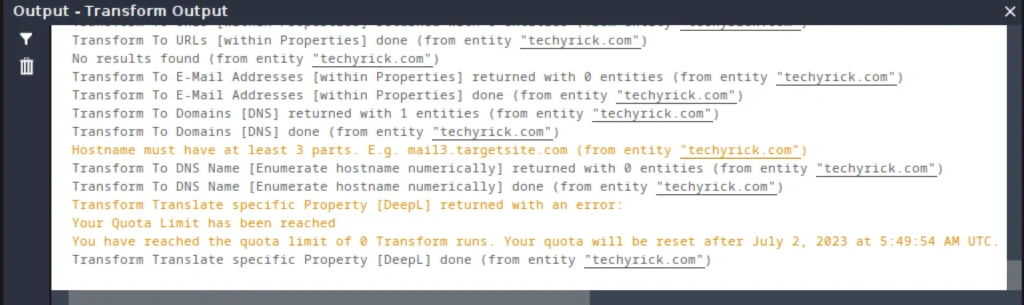
Output
Down below we can see an output tab where all the CLI output and logs will e recorded there. If there is any mistakes in you GUI recon, You can refer to CLI output format.
Advertisement
Using Multiple Entity
If you are not satisfied with the first result you can add multiple entity to narrow down your result.
Just drag and drop the entity on the graph.

Now right click the new entity and run the scan.

We have got the amazing and creepy spider web results. Now let’s see how to organise the graph.
Graphs and Views
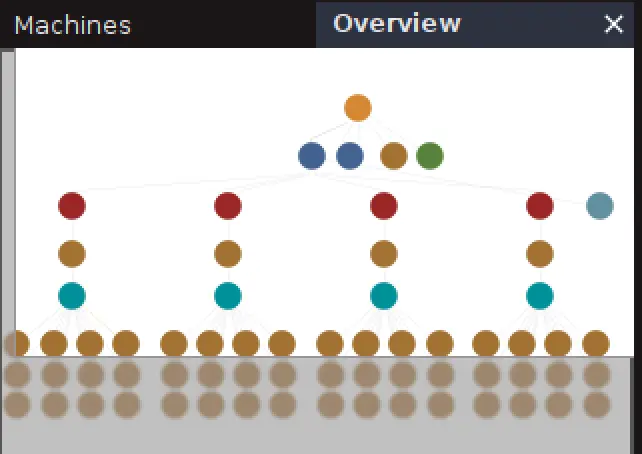
On the left side of the graph we can find the graphs layout and on the right side we can see the overview.
Just feel free to click on each graph layout and select which one suits you.

On the right side we can see the overall controls, In simple and overview of the whole graph.
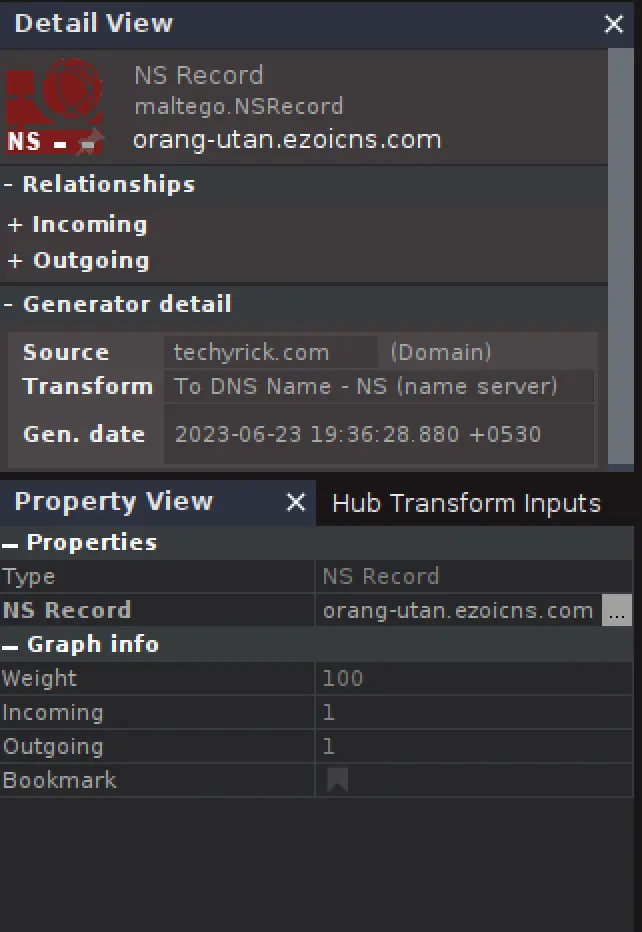
Detail Views
If we click on a specific result we can see more detailed information about that on the right side bar.
Menus
There are nine menus in this tool and each has uniques features and I have almost covered everything. The only thing pending you going and working on it.
The menus are;
- Investigate
- View
- Entities
- Collections
- Transforms
- Machines
- Collabrations
- Import/Export
- Windows
To learn about each menus in depth watch the youtube video i MADE.

Output
We can import and export the graphs in an easy way. Choose which way you want to export the graph.
Here I will export in the PDF, take a look at the screenshot.
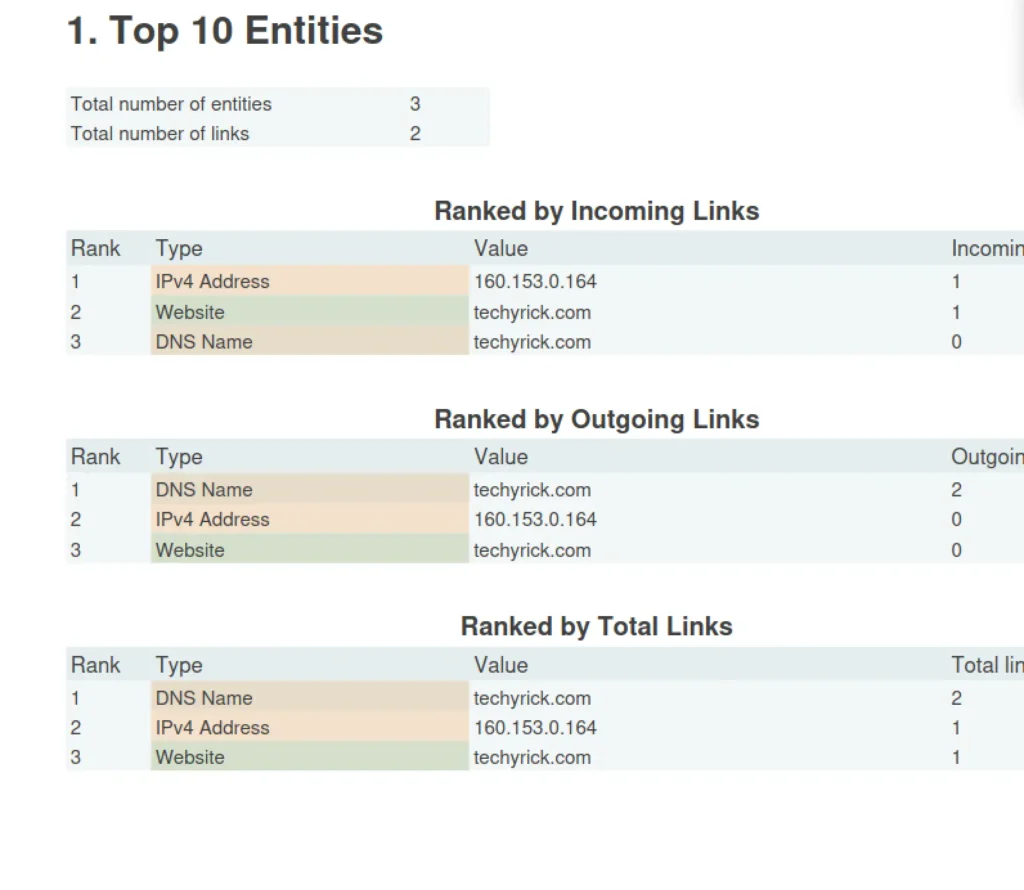
Also you can export the graph in pdf, txt, xml and image.
Conclusion
In my opinion this is the best information gathering tool, We may have some of the dedicated recon platforms and tools. But this is an all in one tool. See you guys in the next post ❤️
Also Read: Information gathering using TiDos
Advertisement